UA-46835615-1

Saturday, November 22, 2014

HOW TO | DIY your old coat into a cape


So here's as promised the DIY for the cape.  All you really need is a sewing machine and a little bit of  patience. This DIY will probably cost you 2-4 hours if you're already familiar with sewing. But on top of it all, it's a really fun DIY to do if you have an old coat laying around and want to revamp your wardrobe without really spending money.

 I hope the tutorial can be followed and the pictures are clear enough.. Go on and do the tutorial. And if there are any questions feel free to ask them in the comments below!

What do you think of the DIY?

x J.

Wednesday, November 19, 2014

OOTD | Because you know I'm all about the capes


blouse H&M, jeans H&M, boots H&M, DIY coat (former H&M)


Wearing capes is perfect a true fall piece. And I've passed on this trend almost every year, because I thought that it wasn't for me. But lately I have been wanting to get one of my own, especially because my favourite style icons frequently wear one (see my Pinterest board). Unfortunately, most ones cost over 100 euros such as this one from Zara. I probably will invest in one later but at the moment am not capable (I'm just a poor poor student ). So while I was looking through capes I stumbled on a DIY by Lana at LanaRed. She used an old coat to make a cape out of it. I thought it was brilliant, such a cheap way and a way to reuse old items. As I was looking through my rack of coats, I remember putting away a coat I didn't want anymore but would be a perfect candidate for this project. Luckily I haven't been able to donate the stack of discarded clothes and could retrieve it. I tweaked the DIY of Lana a bit to my own liking and produced this coat. I'm quite pleased with the result, it only took me a few hours and didn't cost me any money. I will post the process of my DIY in another post soon.


What do you think of the look and my DIYed cape?


Like this post? To keep track, you can follow me on Bloglovin', GFC, or even Instagram.

Friday, November 14, 2014

HOW TO | Designing a logo


As I was sketching ideas for an icon I thought it would be useful to show you guys on how I do it. It is something that I've thought to do myself and came useful for uni as it's something I often have to do for uni as well.

Logo's or icons are seen everywhere and when it comes to having a brand (name it blog, webshop or youtuber) on the internet it is often very useful to have. You can either outsource it or make it yourself, which is way more fun right? But what should you do when you have no idea on how to start? That's where this post come in handy..


Sketch your design
It seems like the most obvious step but a great logo starts from a great design idea. The best way to start designing is to have an idea on what it should portray. Have a brainstorm session on everything your brand is about. For example if your blog is focused on jewellery, write everything down what you think relates to jewellery (e.g. chains, pendants, silver, bling). And start from there by sketching chains, pendants to get your brain working. Another thing to think about is what are your USPs (unique selling points) what deviates you from all the other jewellery shops? Is it 3D printed? Think about combining a few ideas and just let your mind flow. If your stuck or in need for inspiration, it is okay to check pinterest or tumblr. Analyse things you like and incorporate them in your design.


Digitalise your sketch
This is most probably the tricky part where most people get frustrated or clueless. How do you go from your sketch paper to a digitalise version of it? Useful software to have is Adobe Illustrator CS6 ( I have this version but older versions are alright as well). I use Illustrator instead of Photoshop is because you want the image you're creating to be a vector. A vector allows an image to resize without losing the quality (pixels). This is handy because you want to have the freedom to use your logo everywhere without worrying about the quality. If you have a ambitious sketch on paper, which you think is difficult to do it by the eye, a scanner can be useful. You can then open the scan on Illustrator and use 'image trace' to gain outlines of your sketch. With the use of a drawing tablet, which probably saves you a lot of time instead of a regular mouse, you can manipulate the lines to your liking. It may take some practice but eventually you'll get the hang of it.

I've searched some useful tutorials to do this.


Here is the result. It took me longer than anticipated, mainly because I wasn't really satisfied with my original idea and had to change some things a long the way. A phrase that is used often in my school career is to 'kill your darlings' (not literally obviously) but you have to be able to let go of your favourite ideas if it doesn't work out the way you expected and take a step back and redesign it.


Tell me what you think about this sort of post. Is it useful?
Leave your comments below!


x J.


Like this post? To keep track, you can follow me on Bloglovin', GFC, or even Instagram.

Tuesday, November 11, 2014

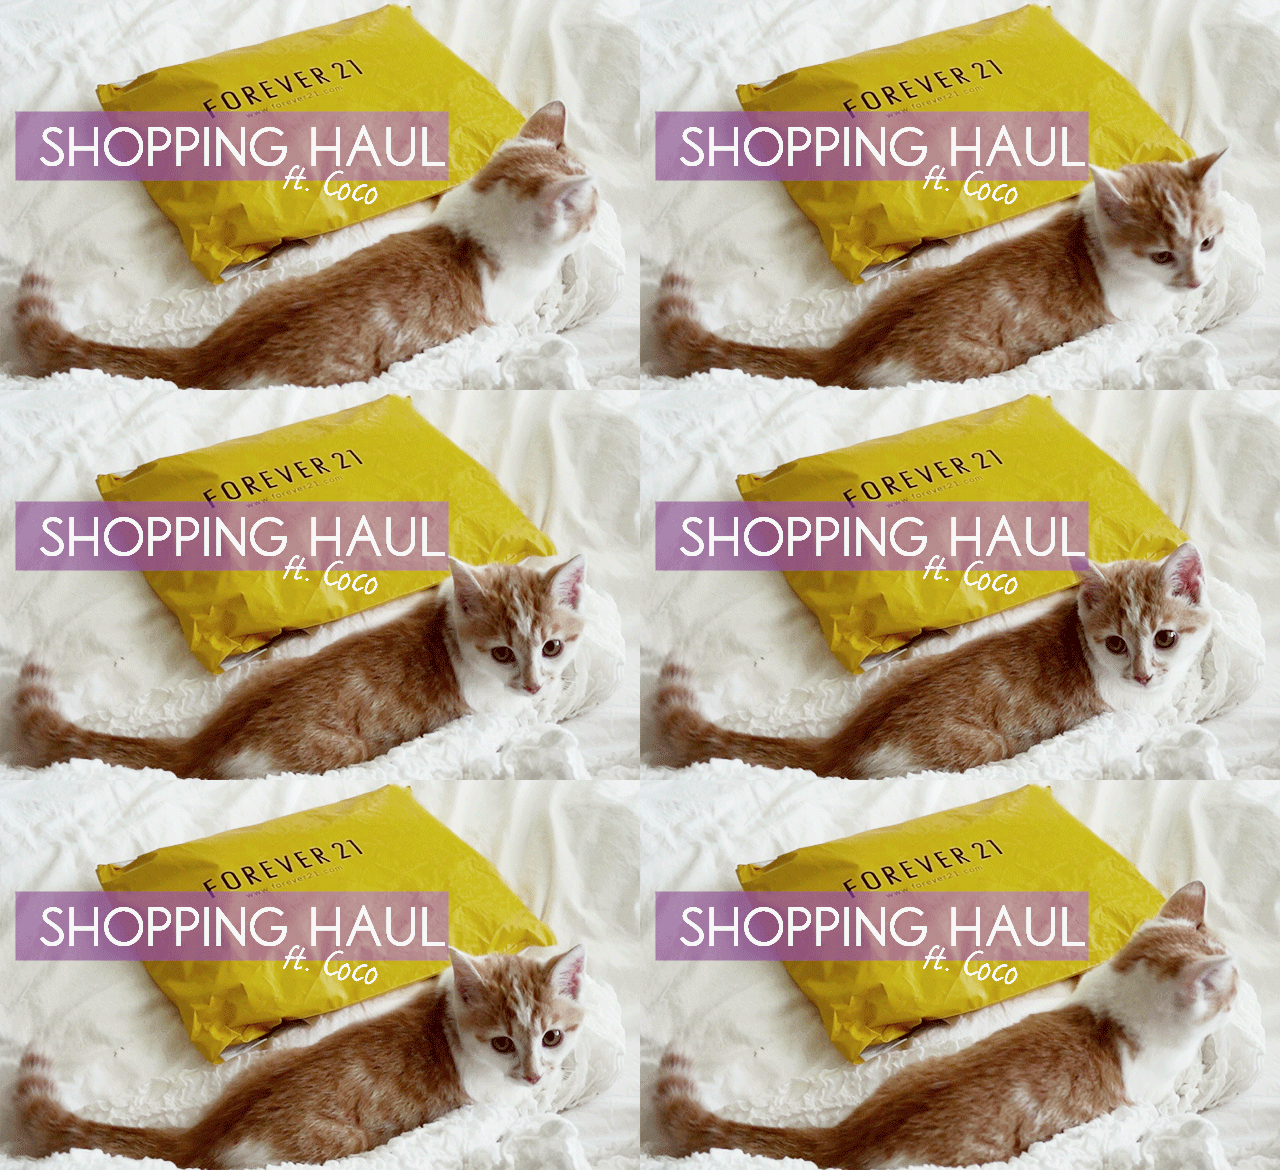
HAUL ft Coco | Autumn staples

 photo haulcoco.gif


(My new cat, coco, decided to hijack this post by refusing to move away from the camera.)

I've been obsessed by clothing with a high neckline/halter ever since I saw it on Amanda Valentine the first episode of Project Runway season 13 (awesome season btw) and it has been my mission to buy a few. The ones I've found at Forever21 are perfect for the fall! I love wearing dark green (hunter green is how they call it online) for fall and the ribbed material makes it more appropriate for the weather, although it's cropped (seemingly inappropriate), it's a perfect basic piece to wear underneath a off shoulder top. Few outfits are already forming in my head.

I can recommend everybody using the Forever21 webshop! Way better than the crowded small spaces where you can't find anything and everything is a chaos at the Forever21 store in Amsterdam. So it's worth the shipping costs. The best part is that it arrives the next day you ordered (two times straight).

You can find more pieces that I've bought below.

ribbed racer tank | €7,45

Saturday, November 8, 2014

LOOKS | Knee-boots in three ways


Fall's here and what better way to keep your toes warm with a pair of knee-boots?

A few days ago, I asked a friend (hi Sara) for some blog inspiration and she told me that it would be nice to do a pairing/three looks one item post. So I decided to go for it and pair these knee boots from Bershka. A video is coming this way as it's uploading at this very right moment, but can take a while so I put it in pictures as well. Without further a due, here are my three looks. 

What's your favorite look?


P.S. I haven't decided on how I should name this post.. Any suggestions?
Click read more for the looks!

Monday, November 3, 2014

PERSONAL | Back from the dead!


Yes this post is about Halloween and yes it's also about me returning from the dead to blogging!
Since I'm a big fan of the Walking Dead, it isn't too difficult of a decision what I wanted to be for Halloween. A 'walker' ofcourse! Or a zombie as they call it as well. But since I was so busy with my uni the past couple weeks (more like months) I didn't really have time to prepare my costume for a Halloween costume party. So I decided to be a Farmer Bob 'walker'. And I must say it's not bad for a 2 hour work of magic! And glueing toiletpaper on my face to make wounds never have been so much fun.

Did you go out for trick or treating?

Anyway, my lonely days in the library till 12AM are gone and my hands are itching again to do some blogging and working on some new projects. Good to be back :)


Like this post? To keep track, you can follow me on Bloglovin'GFC, or even Instagram.
Related Posts Plugin for WordPress, Blogger...